Machine learning is a powerful technology, but with all of the tools, techniques, and other surrounding tech, it’s been hard to get started. Until now. Firebase ML Kit is a new SDK from Google that allows mobile developers to use the power of machine learning in their apps. Out-of-the-box features include text and language recognition, barcode scanning, image and even landmark recognition. And best of all, it’s amazingly easy to use.
Cantina has been closely following the progress of the Tensorflow project, an open-source platform with tools for training and deploying machine learning models. As we wrote earlier, TensorFlow has been one of the driving forces behind the rapid adoption of ML. And, while ML Kit can be used for implementing custom Tensorflow Lite models and other advanced functions, the base features can be incorporated into a mobile app with just a few lines of code. To demonstrate just how easy it is to get started, I will take you through the steps to building your first mobile app using machine learning, creating a text recognition app as an example.
Getting Started
First, you will need to get an account with Firebase. There is a button that says “Get Started”. If you’re already signed in to a Google Developer account, clicking it will take you to the Firebase Console.
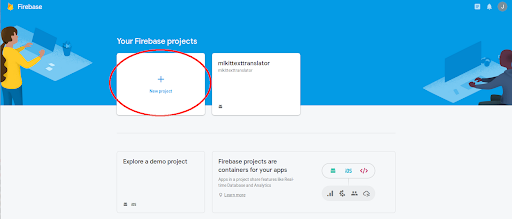
If you’re not already signed in, you will be asked to either sign in with your Google Developer account or create a new account. Be prepared to provide payment details for your account. While ML Kit features can be used for free with an on-device API, you’ll want to use the cloud-based version for production apps. The cloud-based version produces better results.
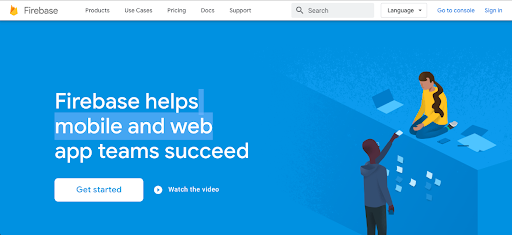
Once you have your Google/Firebase account set up, you’ll need to register your app with Firebase. There is an easy wizard for doing this. Once you’re logged in to the Firebase Console, you will see a button saying “+ New Projects”.
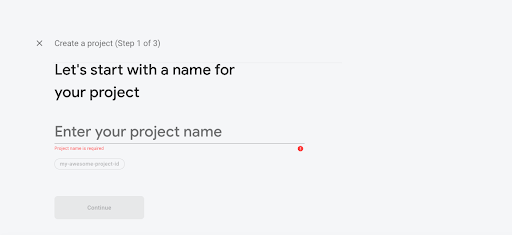
You will be presented with an opportunity to name your project.
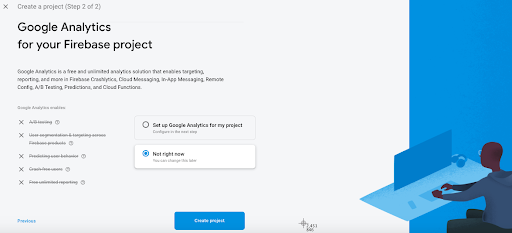
Next, you will be given a chance to include Google Analytics in your project. Once you’ve decided one way or the other, click the “Create Project” button.
Next you’ll see the following screen as your project is created…
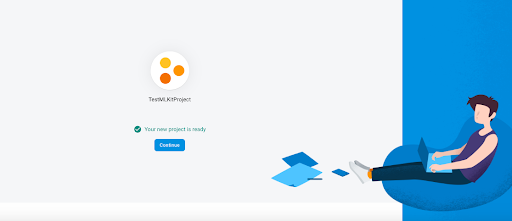
When it’s done, you’ll see the following screen. Click “Continue”.
You will be returned to the Firebase console.
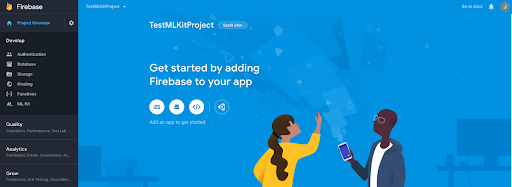
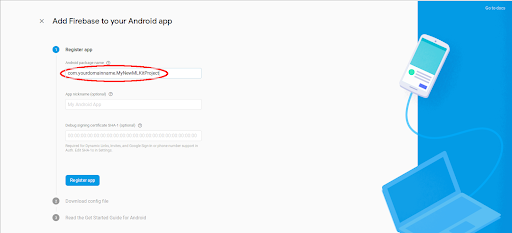
You’ll see three circular icons underneath your project name. One will say “iOS”, the next will have an Android icon, and the third will say “</>”. Since we are creating an Android project, click on the Android icon. Now would be a good time to start creating your new project in Android Studio if you haven’t already. The next steps will involve creating and configuring your app. Note that you should check the box that says “use androidx.* artifacts” when you create your project in Android Studio. Otherwise you will have gradle syncing headaches. On the next screen, you will be asked to enter the name of your project’s package in Android Studio. Do so and then click the “Register app” button.
You will be prompted to download a file called ‘google-services.json’. Click the button labelled “Download google-services.json”. Copy this file to the ‘app’ folder in Android Studio .
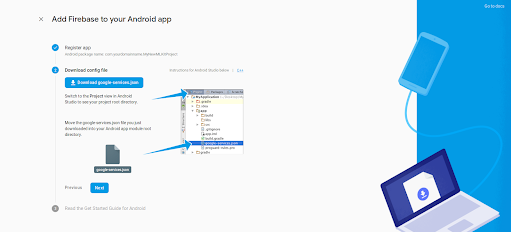
Click the “Next” button and you’ll be directed to add some google-services and firebase dependencies to your app and project gradle files.
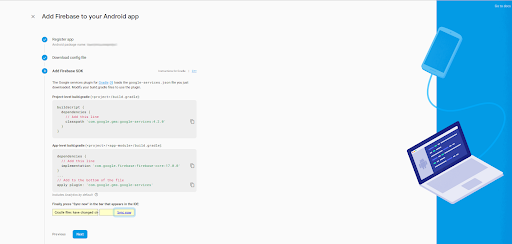
In addition to the dependencies shown on the Firebase web page, you will need to add the following dependency to your app gradle.build file to use text recognition.
implementation 'com.google.firebase:firebase-ml-vision:19.0.3'
You’ll also want to add the following line to the bottom of your app gradle.build file.
apply plugin: 'com.google.gms.google-services'
The next step will probably seem a bit odd. Firebase wants you to sync your gradle file before proceeding. And the web page will actually sit there and wait for you to do it.
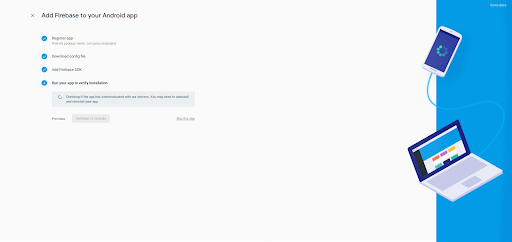
Once you’ve successfully synced, you will be prompted to return to the Firebase console.
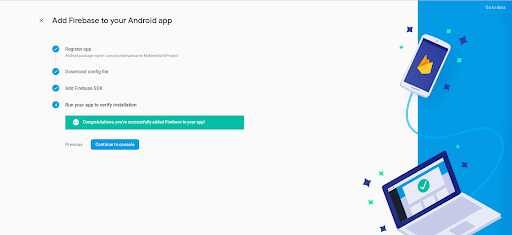
Now it’s time to do some coding. For simplicity, we’ll start with the on-device version of the text recognizer API.
- Create a FirebaseVision object by passing an image. In this case, I am passing it a bitmap.
val firebaseVisionImage : FirebaseVisionImage = FirebaseVisionImage.fromBitmap(translationImage)- Then get an instance of the FirebaseVisionTextRecognizer and pass it the FirebaseVision object containing the image. You’ll also want to define listeners for both success and failure.
val textDetector : FirebaseVisionTextRecognizer = FirebaseVision.getInstance().onDeviceTextRecognizer
textDetector.processImage(firebaseVisionImage).addOnSuccessListener
{
  processText(it)
}.addOnFailureListener{
  Log.d(TAG, it.message);
}- What you get in return is a List of blocks - each containing one recognized line of text.
- Loop through the blocks and extract each line of text.
val textBlocks : List<FirebaseVisionText.TextBlock> = recognizedText.textBlocks
for (textBlock in textBlocks){
  resultString.append(textBlock.text + "\\n")
}- That’s it! You now have a text recognition app!
Cloud-based Text Recognition
If you want to try out the cloud-based version for better results, you only need to change the FirebaseVision.getInstance().onDeviceTextRecognizer to FirebaseVision.getInstance().cloudTextRecognizer. That’s your only coding change.
Of course, you’ll also need to set up a billing account on Google and associate it with your app. And that part is not very intuitive, so let’s walk through it. First, you’ll need to “enable” the Cloud Vision API for your app on your Google Developer console. Note that this isn’t done on your Firebase Console, where you’d expect. Instead, you need to go to your Google Developer Console and click the link for “Google API’s”.
When you get to the Google console, look to the upper left hand corner of the screen. Next to the words “Google APIs”, you should see an app name. If it isn’t the ML Kit app you’re currently working on, click the down arrow next to the app name for a selection of your apps.
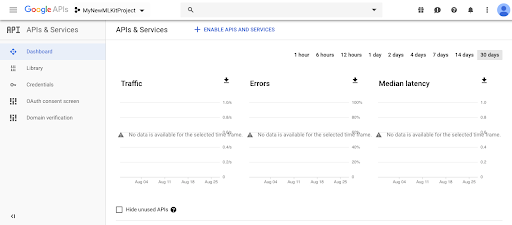
Once your ML Kit app is selected, click “+ ENABLE APIS AND SERVICES”. The next screen will look like this.
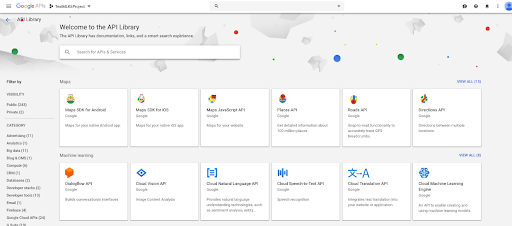
Click on “Cloud Vision API” and the following screen will appear.
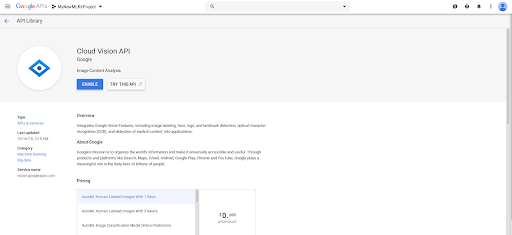
Click the “ENABLE” button to enable Cloud Vision for your ML Kit app. Next, you’ll need to link your app to a Google billing account. If you aren’t already set up on Google with a billing account, do that first. Then go to your Google Cloud Console and select your app. To get there, click on the hamburger button in the upper left hand corner of your Google console. A menu will slide in from the left.
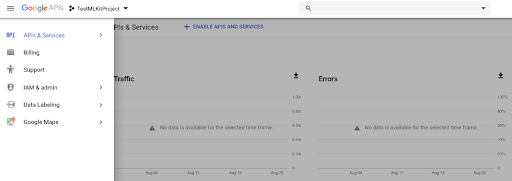
Click on “Billing” on the left hand side of the screen. You should get a pop-up saying “This project has no billing account”.
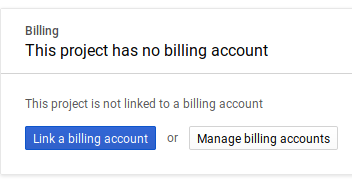
Click the “Link a billing account” button and you’ll be shown a list of your billing accounts to link to the app. Once this is completed, you should be able to run your app and receive results from the cloud.
That’s everything you need to add the power of machine learning to your next Android app.
Please do try this at home. You won’t be disappointed!


